Showing posts with label DIY. Show all posts

August 24, 2011

DIY: London bus tote

Only 12 days left and I'll be in London again. So excited!


July 22, 2011

DIY: Deathly Hallows tote bag


It's raining and it's cold outside - feels more like autumn than summer - so I had time to do another DIY. What do you think?

July 08, 2011

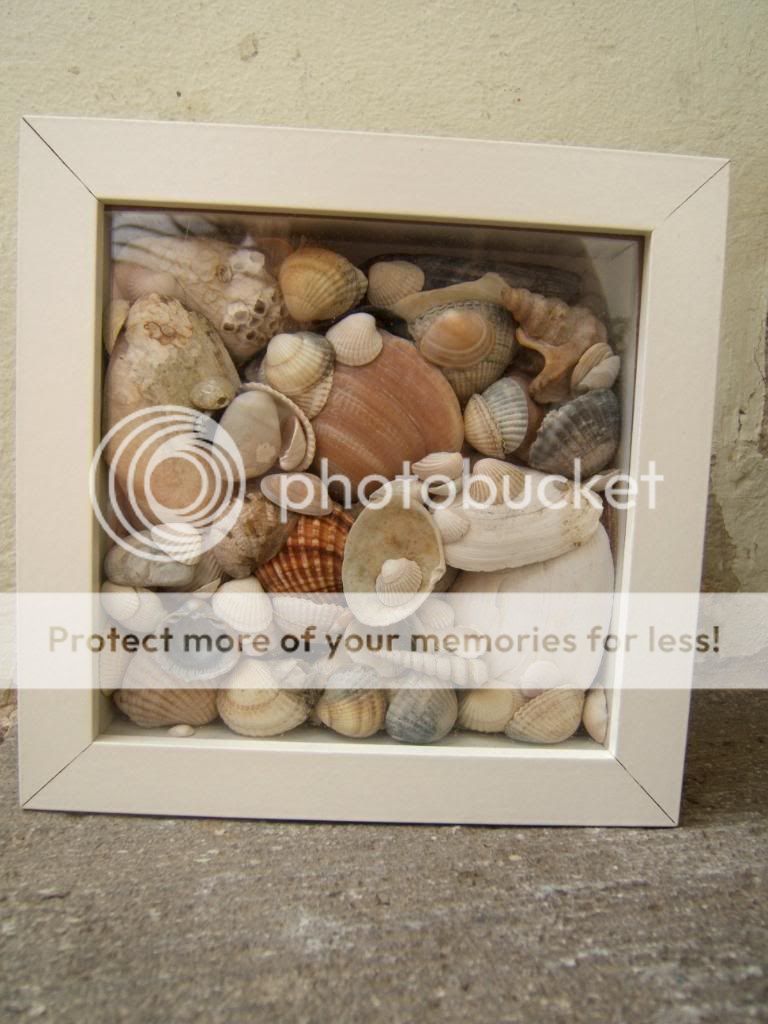
DIY: Frame with shells

Here's my next DIY for you! It's pretty easy and the result looks really nice. 
All you need is the RIBBA frame from IKEA and shells from your last holiday on the sea.

Just put the shells into the frame. You need to fill the whole frame to avoid that the shells are moving when you hang the frame up the wall.

June 09, 2011

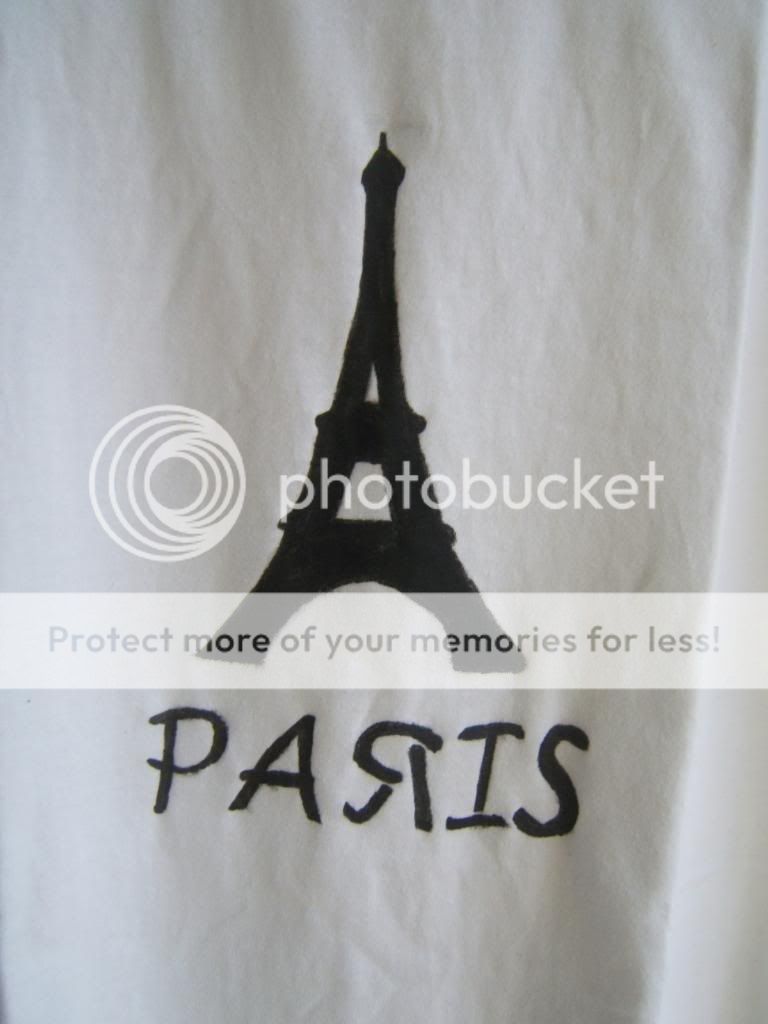
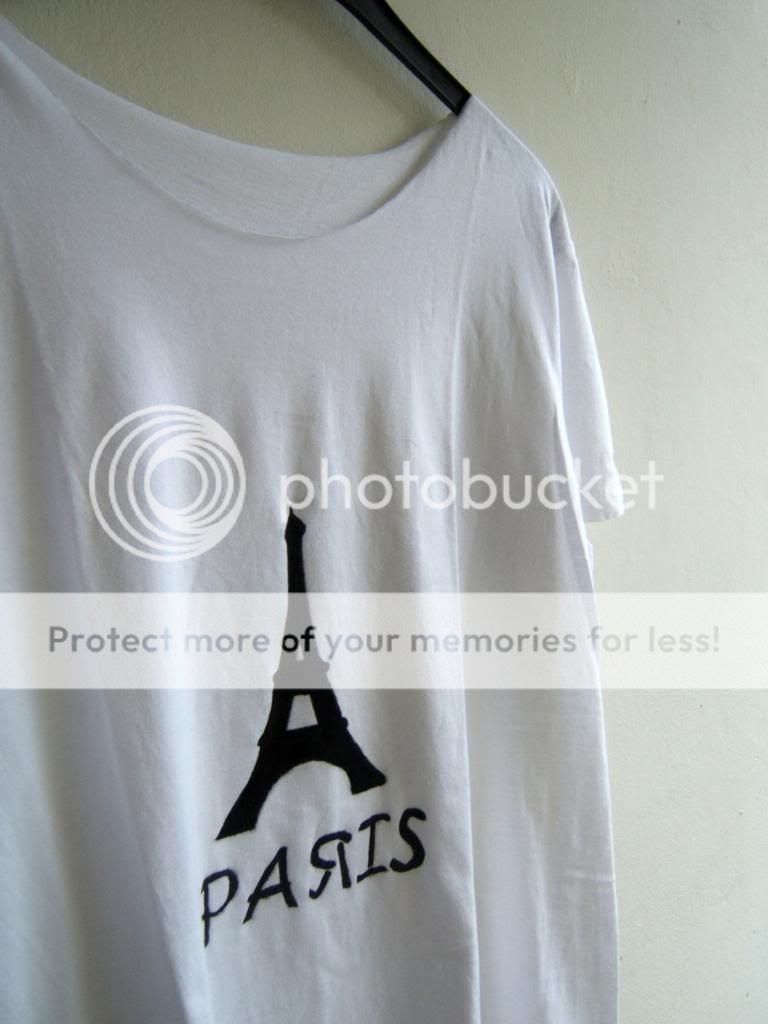
DIY: Paris shirt

May 24, 2011

DIY: Pearl Bracelet

During my holidays I also made this pearl-bracelet.

1. You need: pearls, two small rings, two pieces of wire and a clasp.
2. Wrap end the two pieces of wire around one ring.
3. Start adding the pearls.

4. Wrap the open end of the wires around the second ring.
5. Should look like this now.
6. Add the clasp to one ring and the bracelet is ready to wear.

May 08, 2011

DIY: Feather necklace

1. All you need: some feathers (I used three), pearls, a necklace, wire and a small ring. 
2. Wrap the wire around the feathers to keep them together and leave a small rest for the loop.
3. To cover the wire you can use the pearls. The small ring connects the loop with your necklace.
4. The necklace is ready to wear! 

April 23, 2011

DIY: Ribbon Chain Bracelet

Since I have Easter holidays I finally had the time to do some of the DIY projects that are piled up in my inspiration folder.
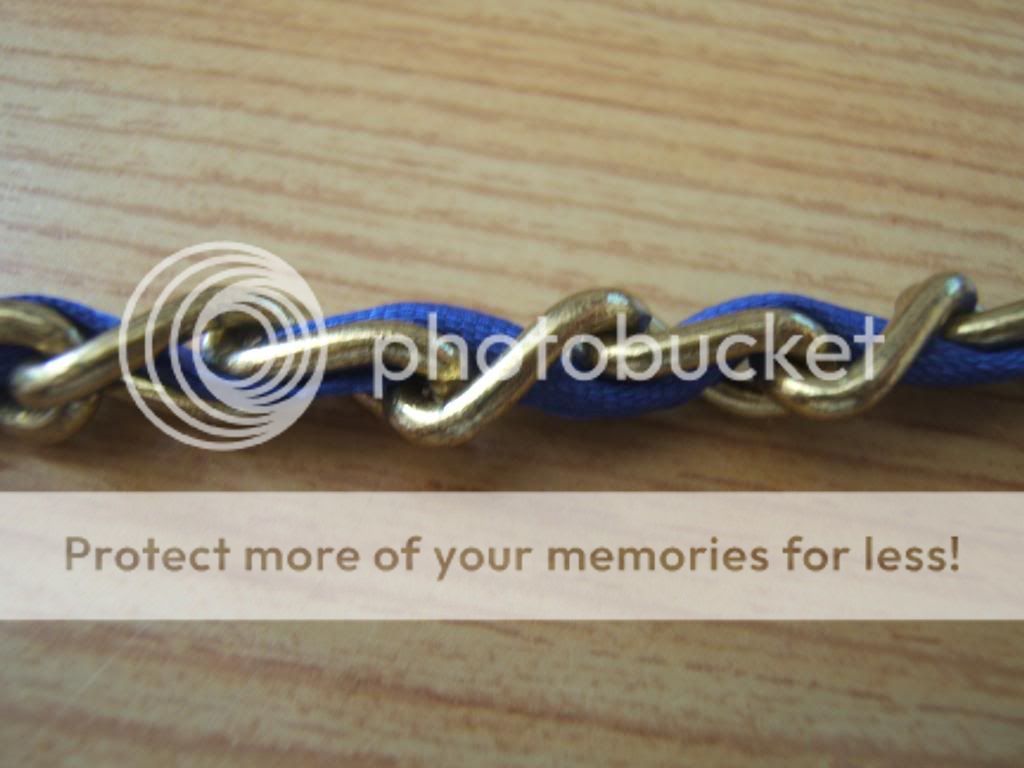
This one is pretty easy. All you need is a chain and a ribbon.

At first you put the chain around your wrist to measure the lenght of your bracelet. Then cut it.

The next step is to braid the ribbon through the chain.

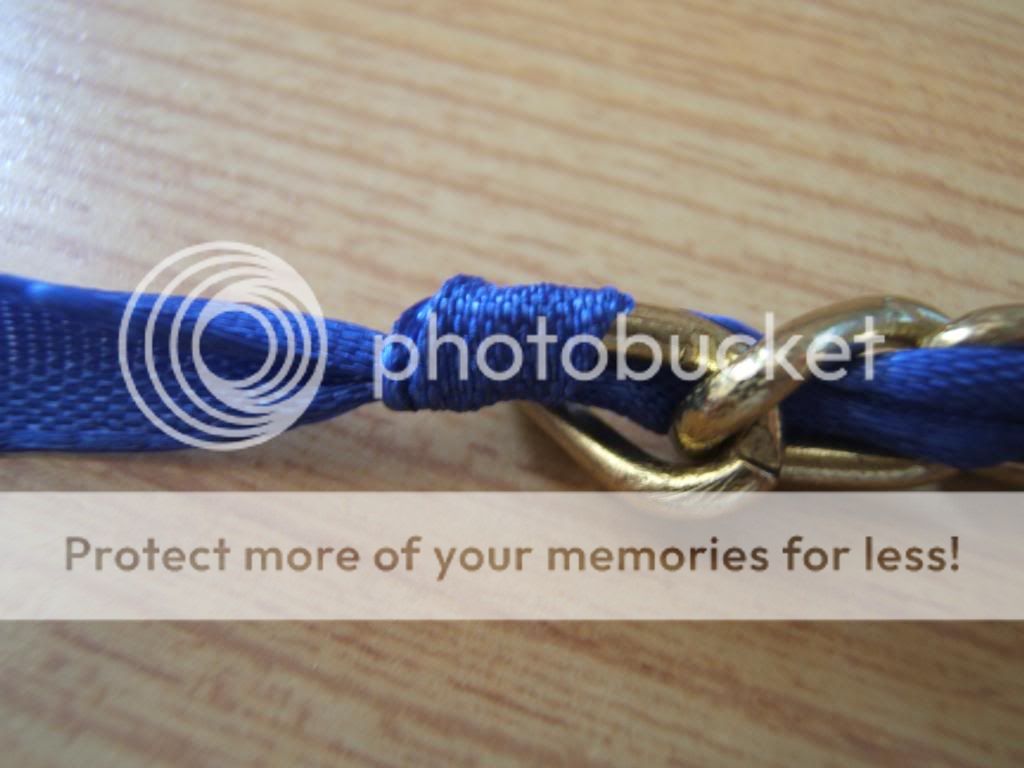
Move the chain in the middle of the ribbon and leave some ribbon (about 14 cm) over on each side. 

Then tie a knot around the end of the chain so the ribbon won't move anymore.

And your bracelet is finished :)

You can also make necklaces or use two ribbons with different colours or braid the ribbon adding some pearls or use different materials for example leather and so on...
 

March 06, 2011

Do it yourself...


Beautiful DIY video with Nahna and Virginie.

September 12, 2010

I See It. I Like It. I Make It.

Some time ago I found the wonderful DIY page 'P.S.- I made this...' of Erica Domesek.
You can find so many nice DIY- projects there with easy tutorials.
Here some examples of my favourite projects:
There is also a book available on amazon where Erica Domesek shares more DIY-projects. I will buy it soon...

September 09, 2010

DIY: shoes with swallow pattern

Another DIY which is basically the same like the anchor shirt.

You need: plimsoles (mine are from Primark for 3€), colour for fabrics, a brush, a pencil and a template (mine is again a picture from google).


August 22, 2010

DIY: Anchor shirt

During my summer holidays I had the time to start some DIY projects and there are several which I want to do in the future. So here is my first one:


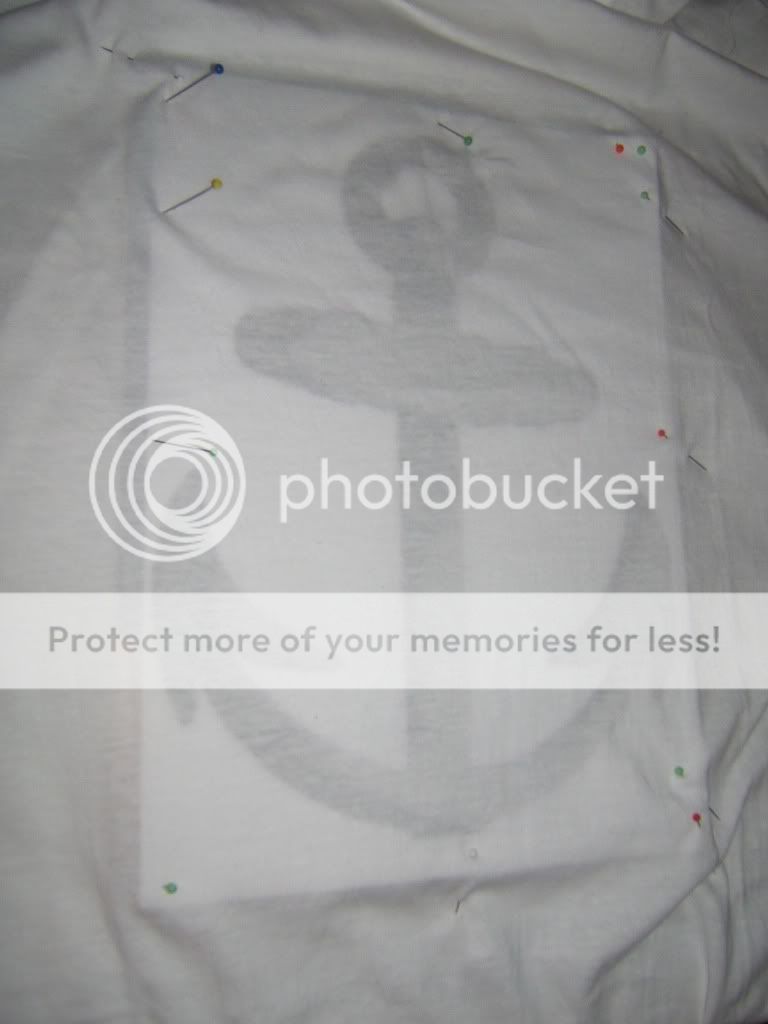
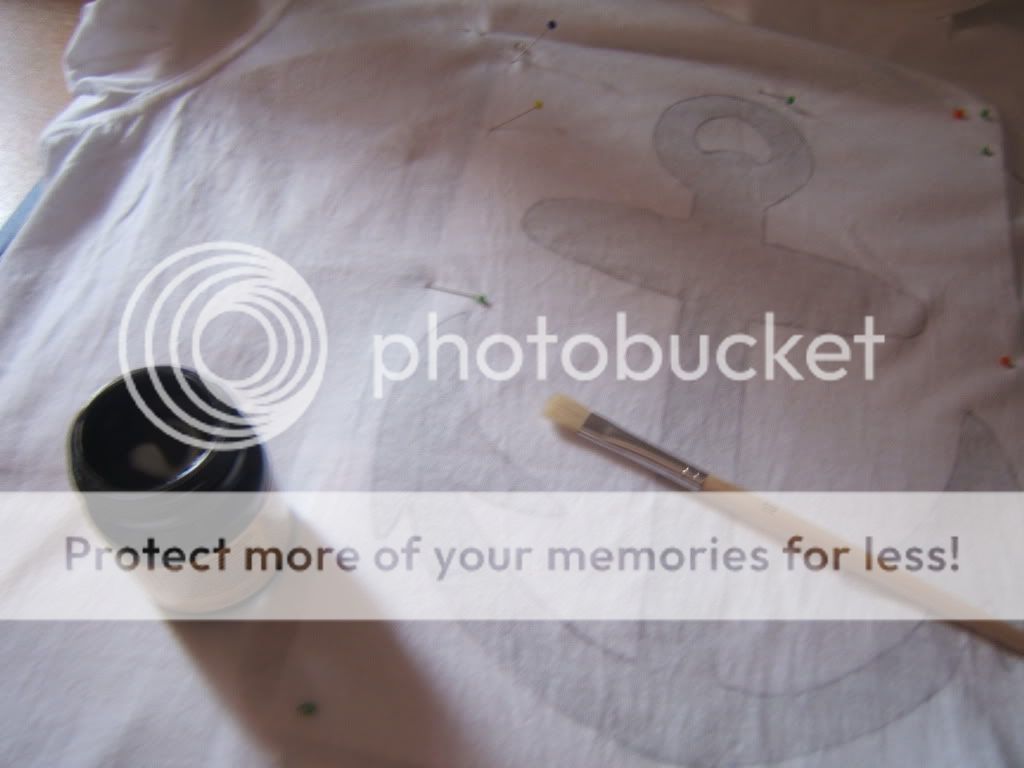
All you need for this DIY is: a shirt, colour for fabrics, a brush, a pencil, a magazine, some pins and a template (mine is a picture from google).


Put the magazine and then the template under your shirt. With the pins you fix the shirt onto the template so that it can not get out of place. The magazine prevents that your shirt gets colored on the back.


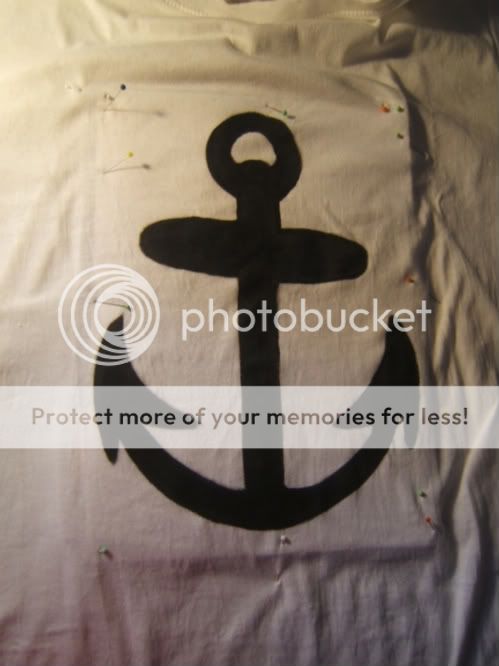
With the pencil you copy the lines of the template. After that you start colouring.


Finished! To fix the colour let it dry and then iron it. (You better lay another fabric on the motif while ironing.)

Hope you like this tutorial. If you have a question feel free to ask :)